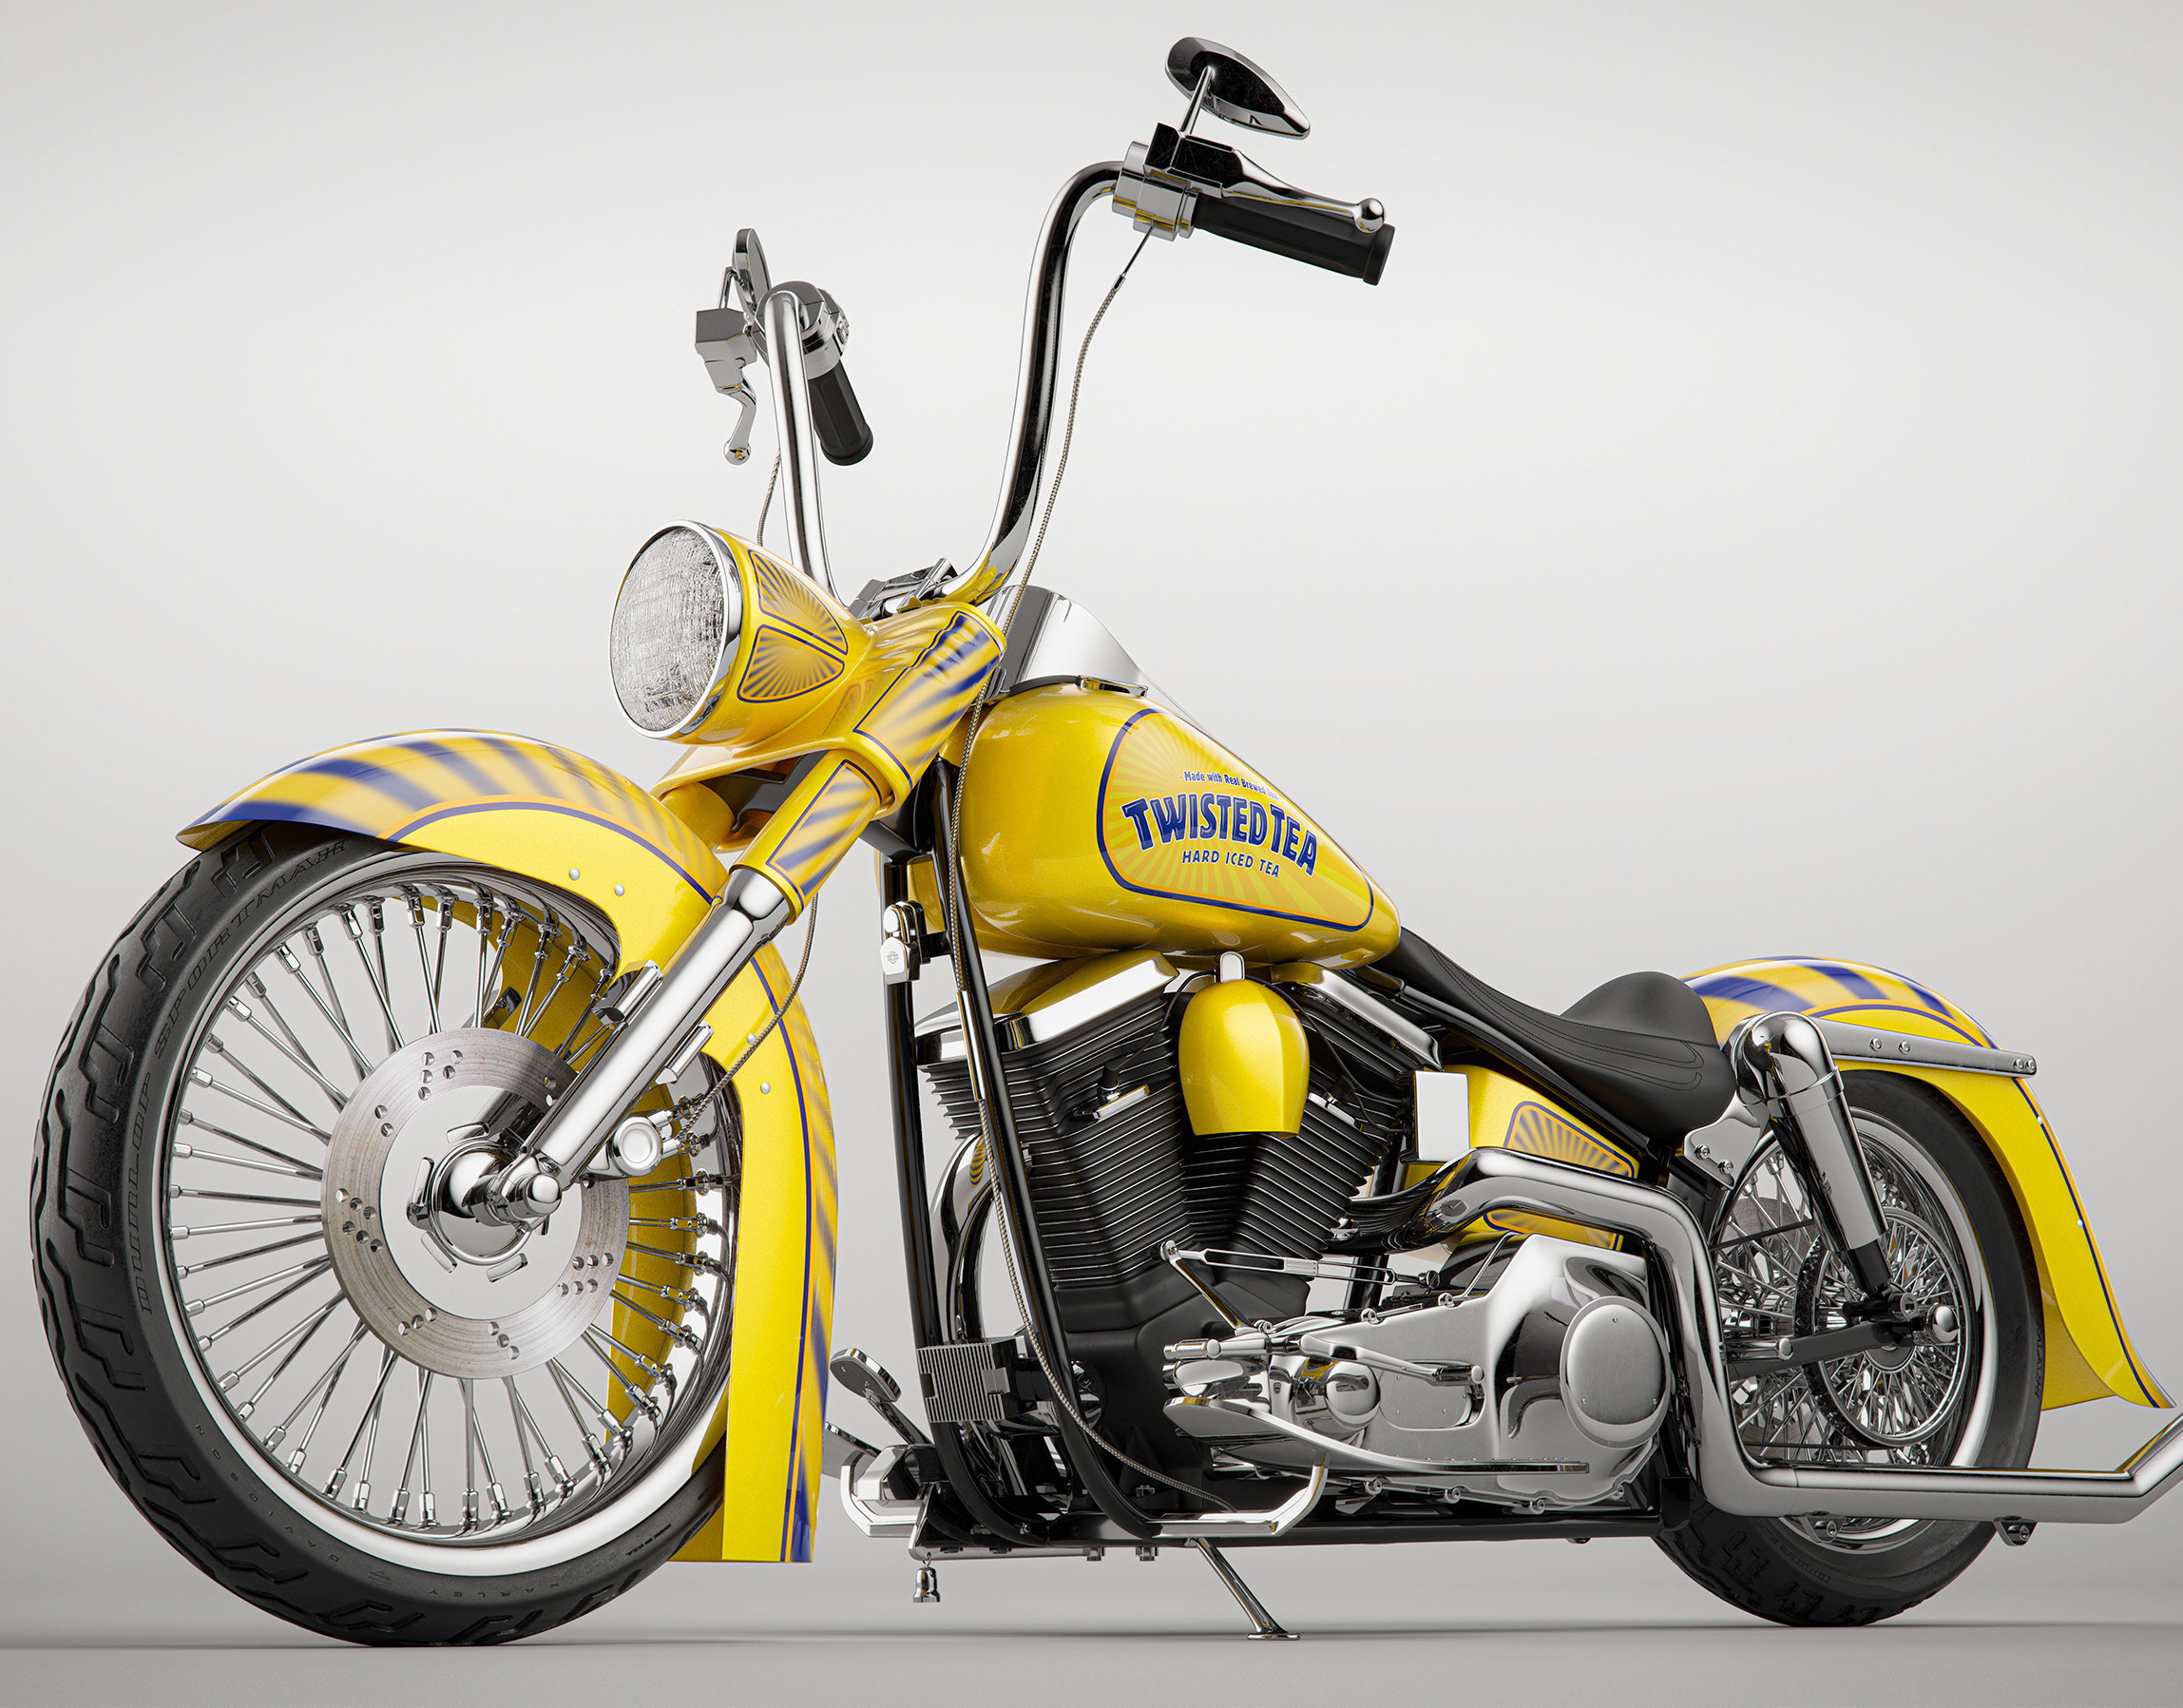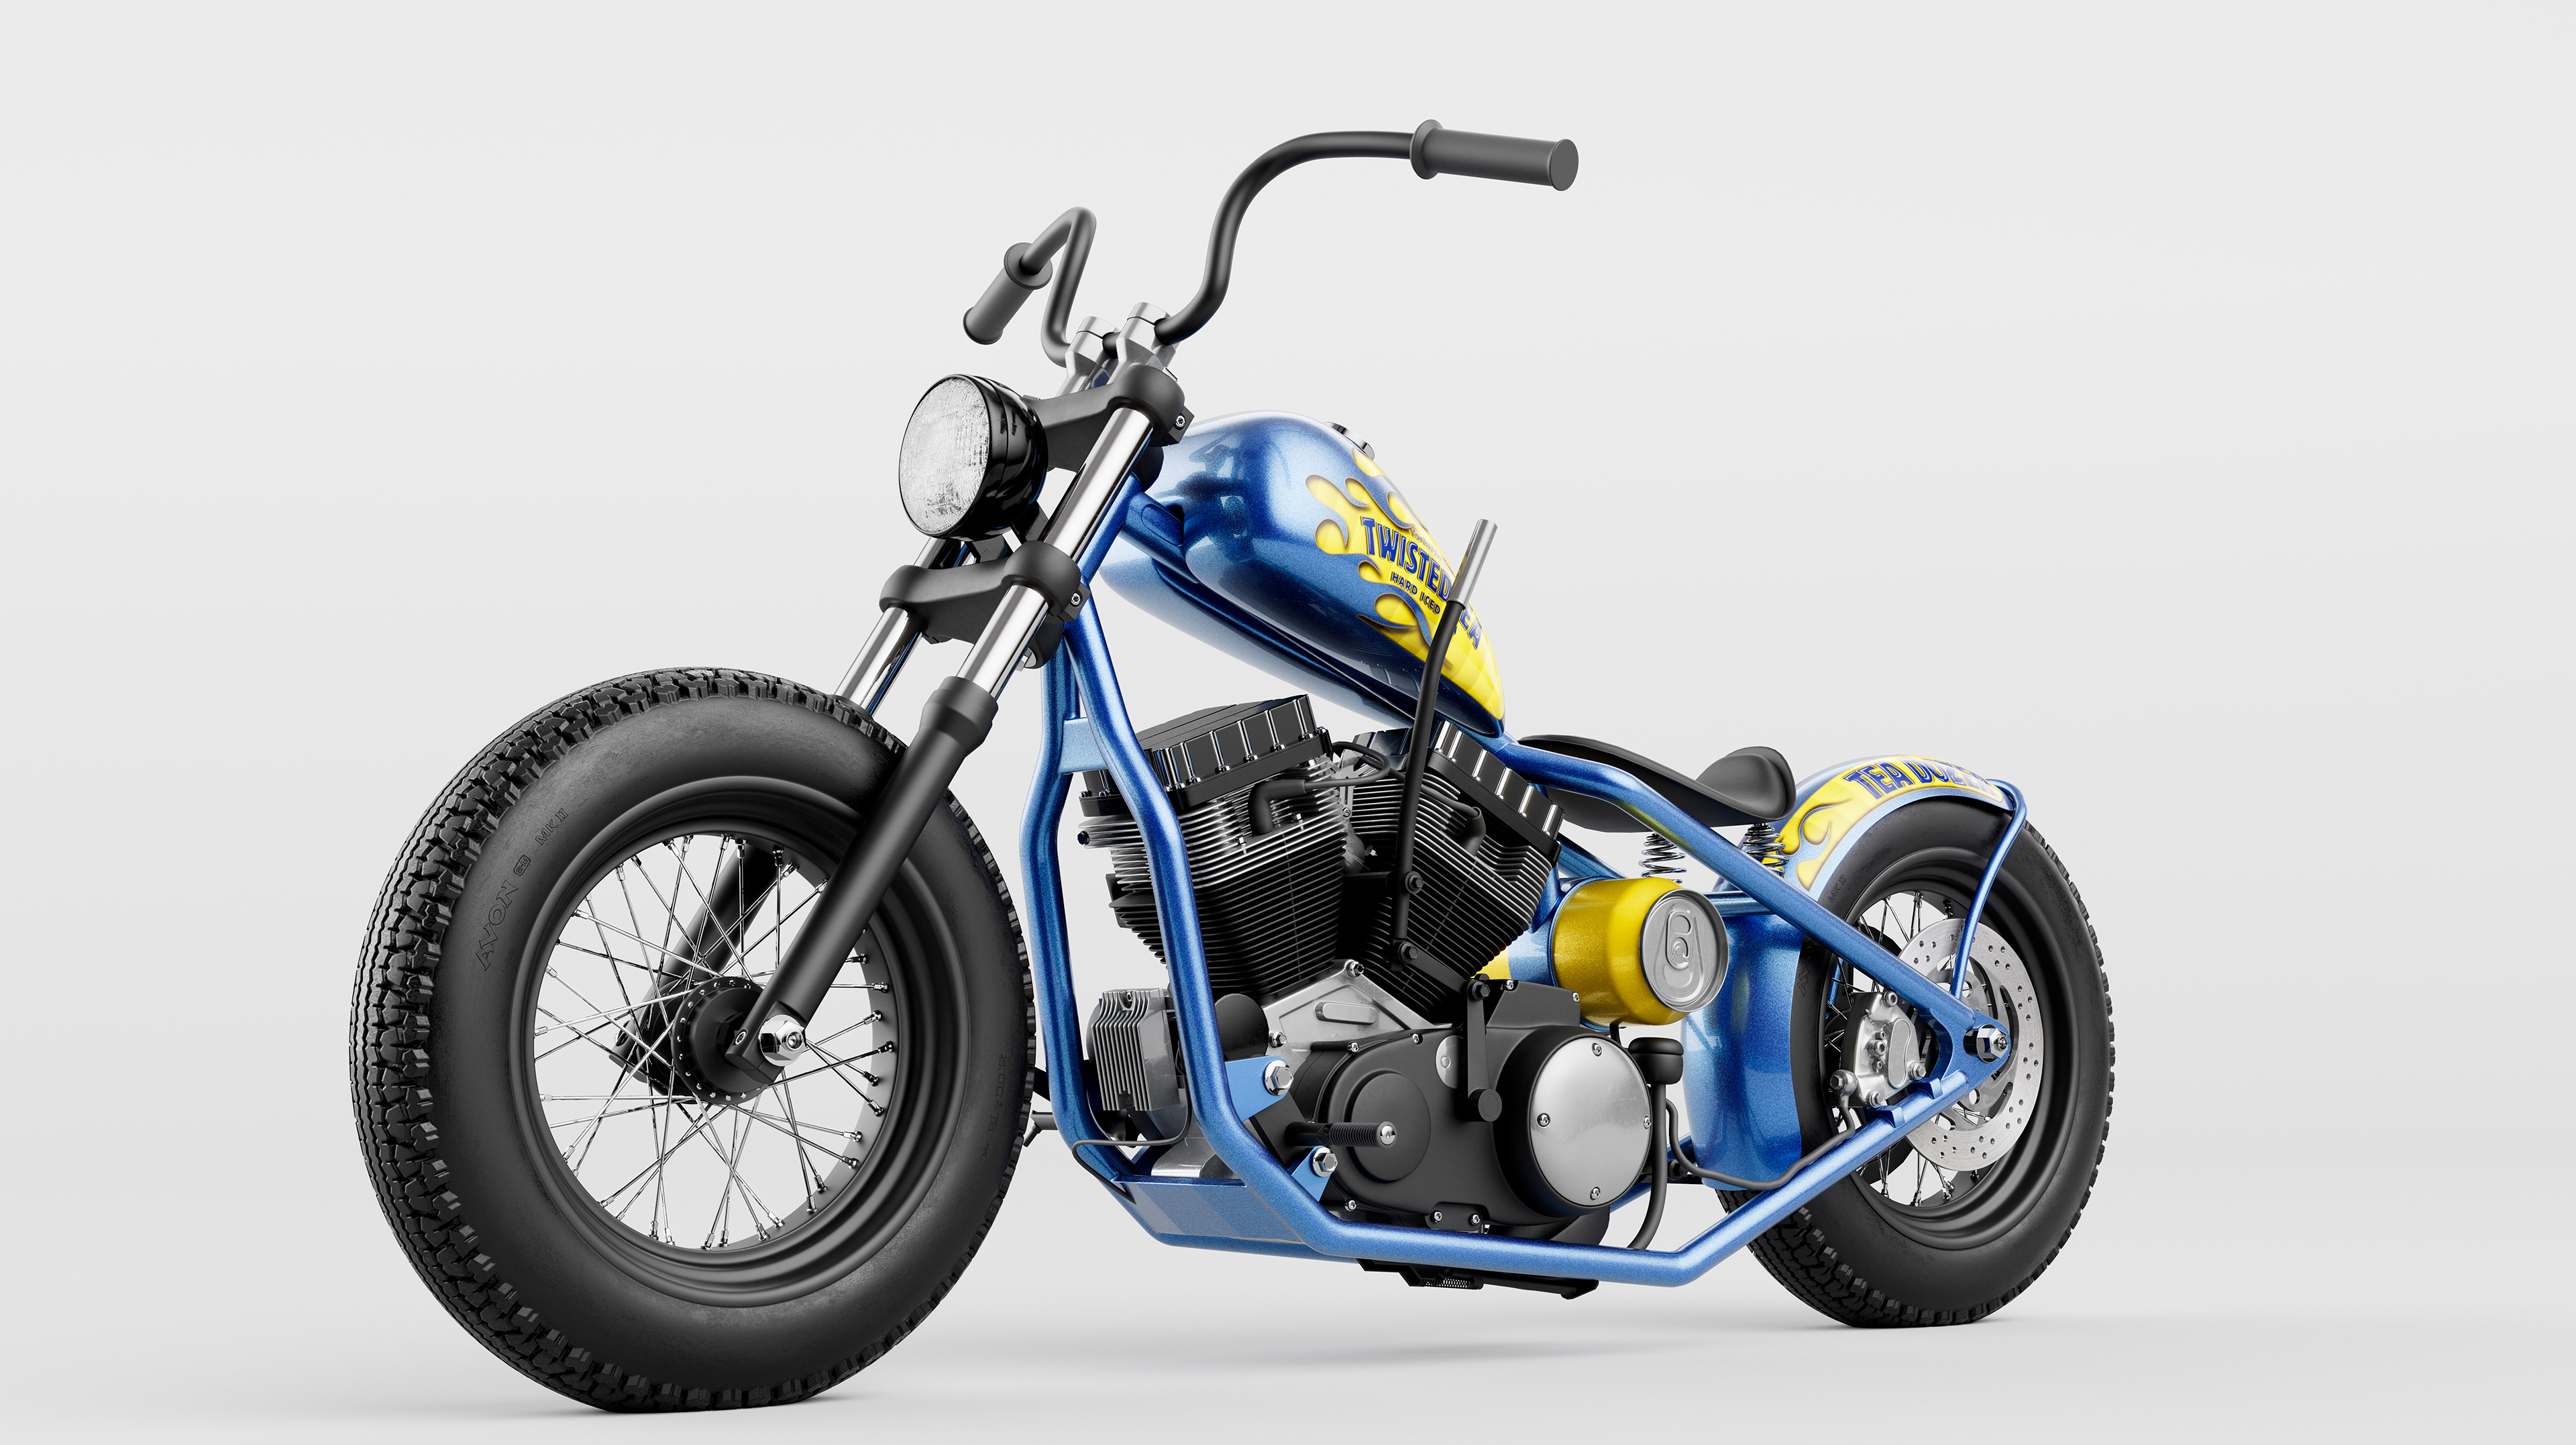
Custom motorcycle visual we created for Twisted Tea. The motorbike was being given away as part of a competition but the real bike was not completed in time for the launch. We worked with Cycle Source Magazine and Twisted Tea to develop the look of the bike and produce a realistic stand-in for the eventual prize.
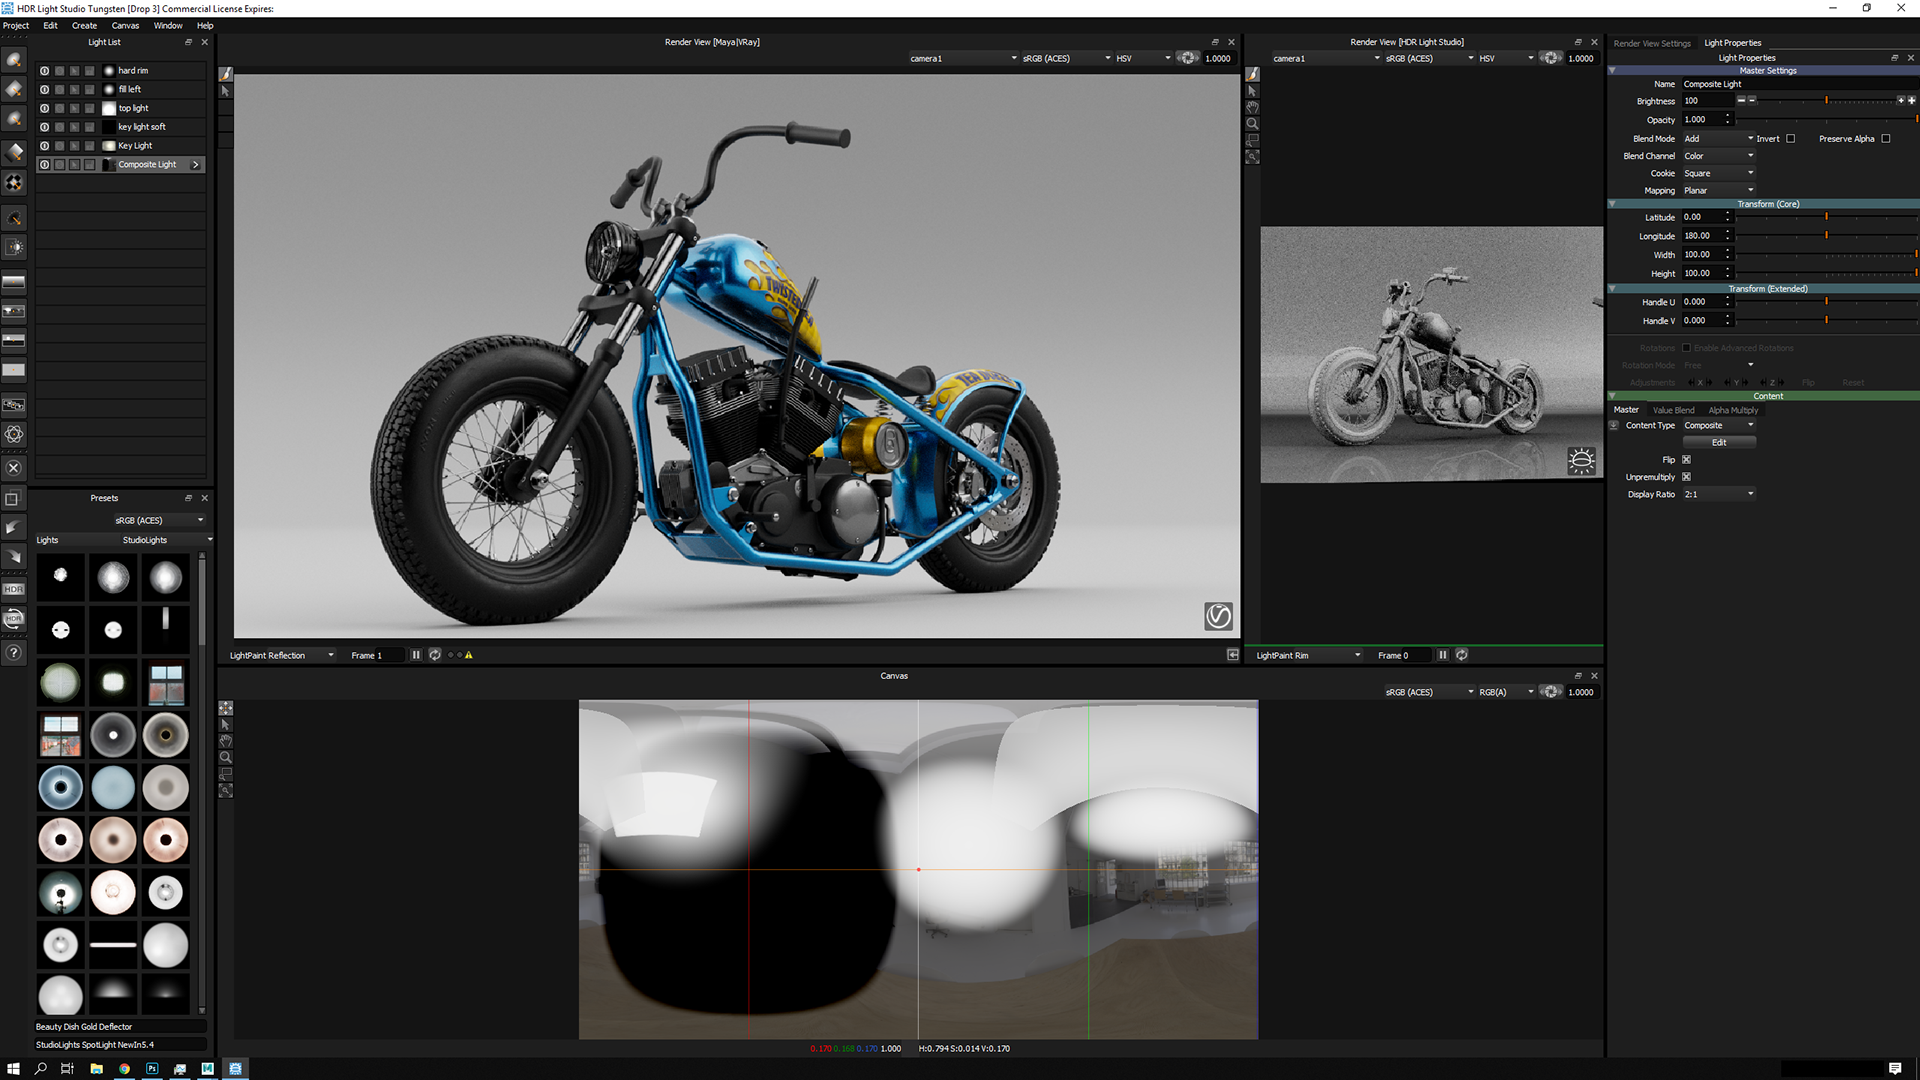
Below is a mini tutorial showing the breakdown of the lighting of the fina shot in HDR Light Studio

Firstly here is the setup in Maya. There is only one Vray Light Dome in the scene
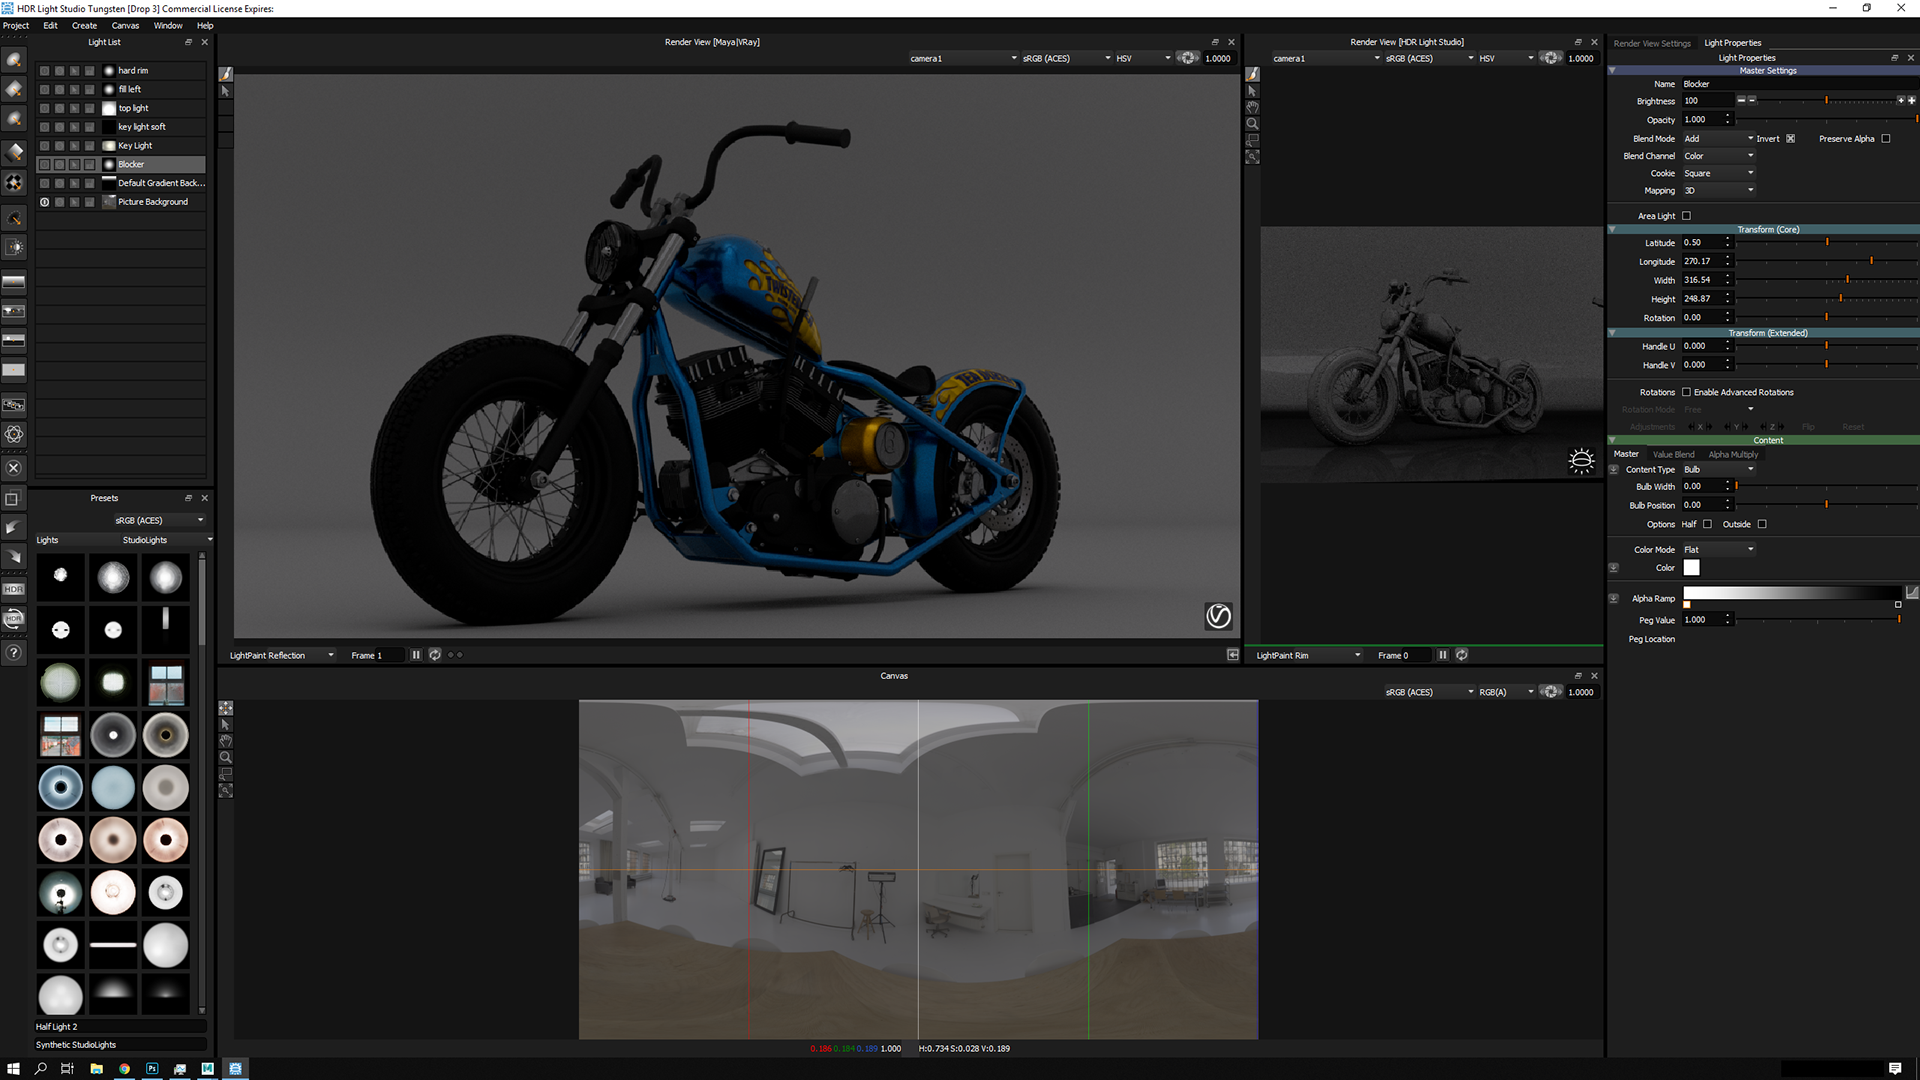
We start with a generic studio HDR background. Something low contrast is better as it won't compete with the key lighting.
Adding a gradient background light to make the top brighter, this helps start the process of bringing out the Forms and better defining the contact shadow.

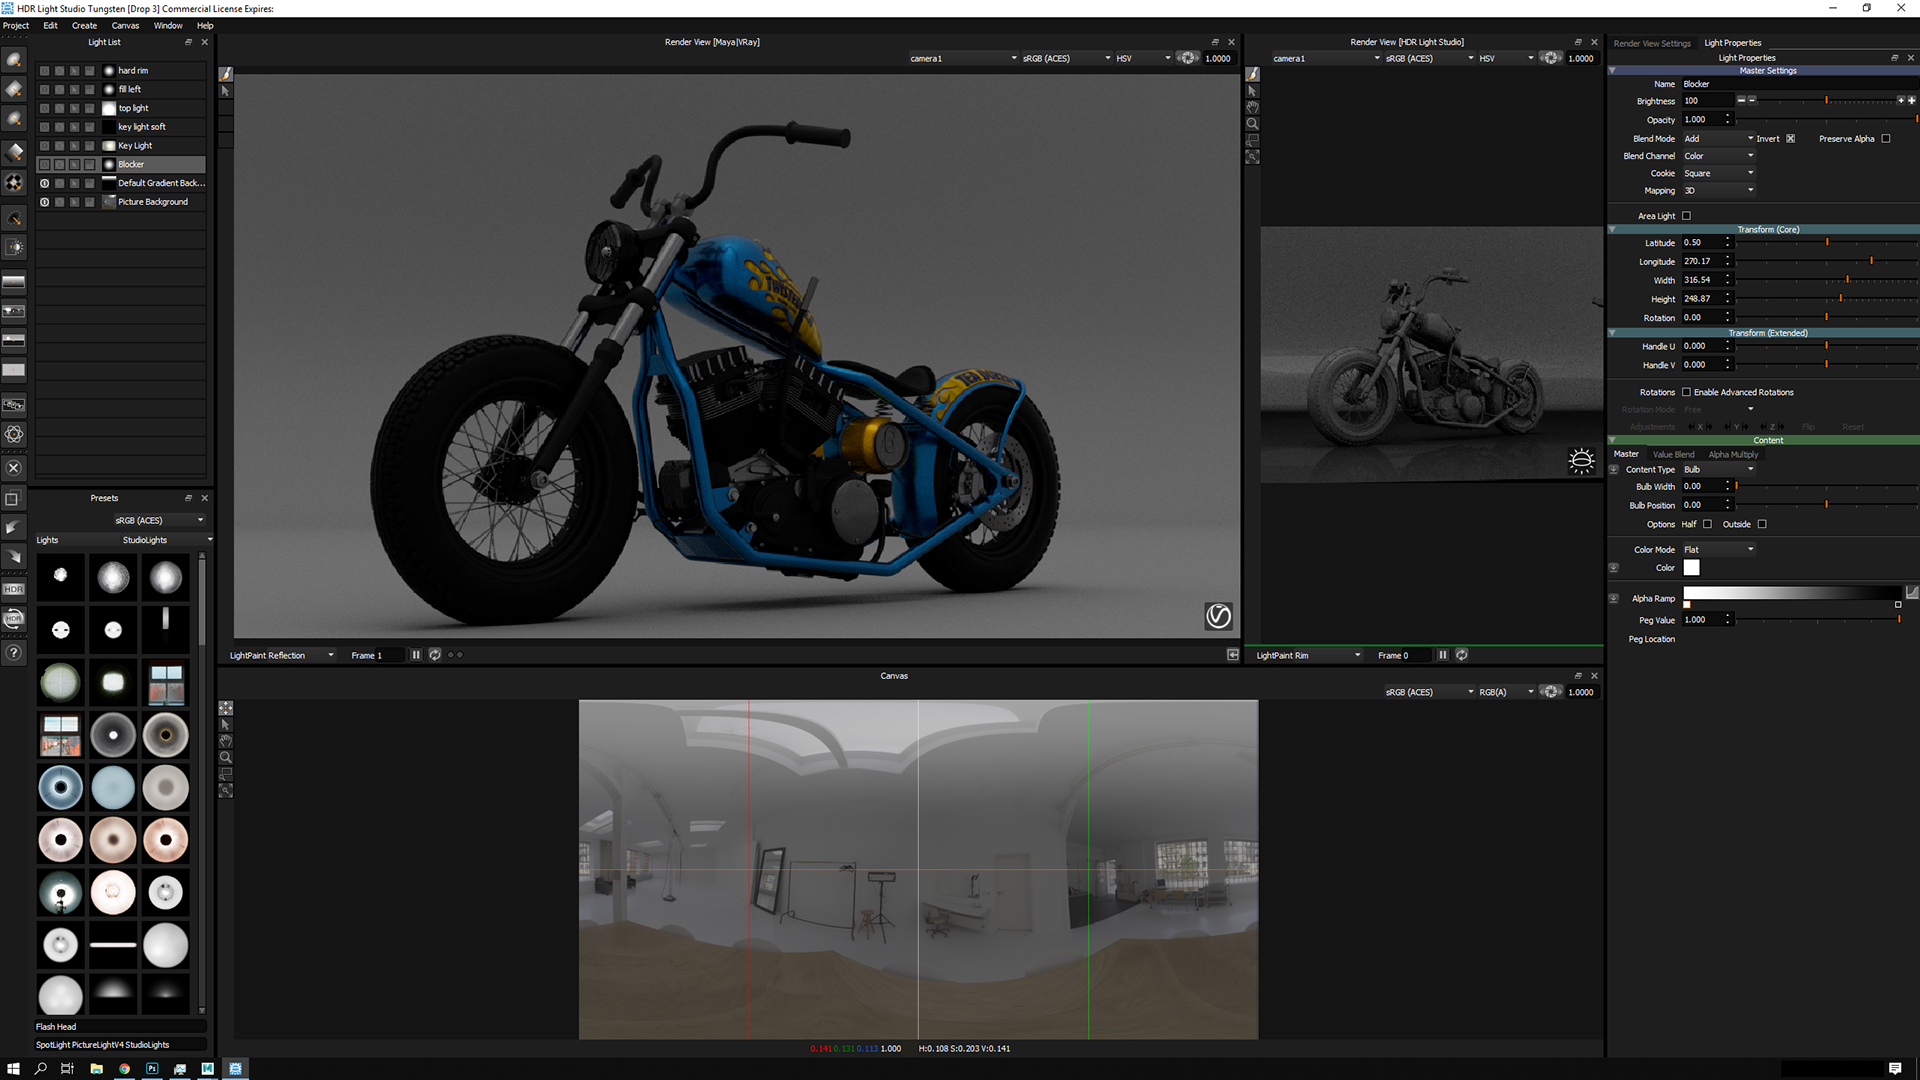
Overall it is looking flat so a negative light to block out the background in the front surfaces of the bike. This constitutes the overall ambient lighting in the scene.
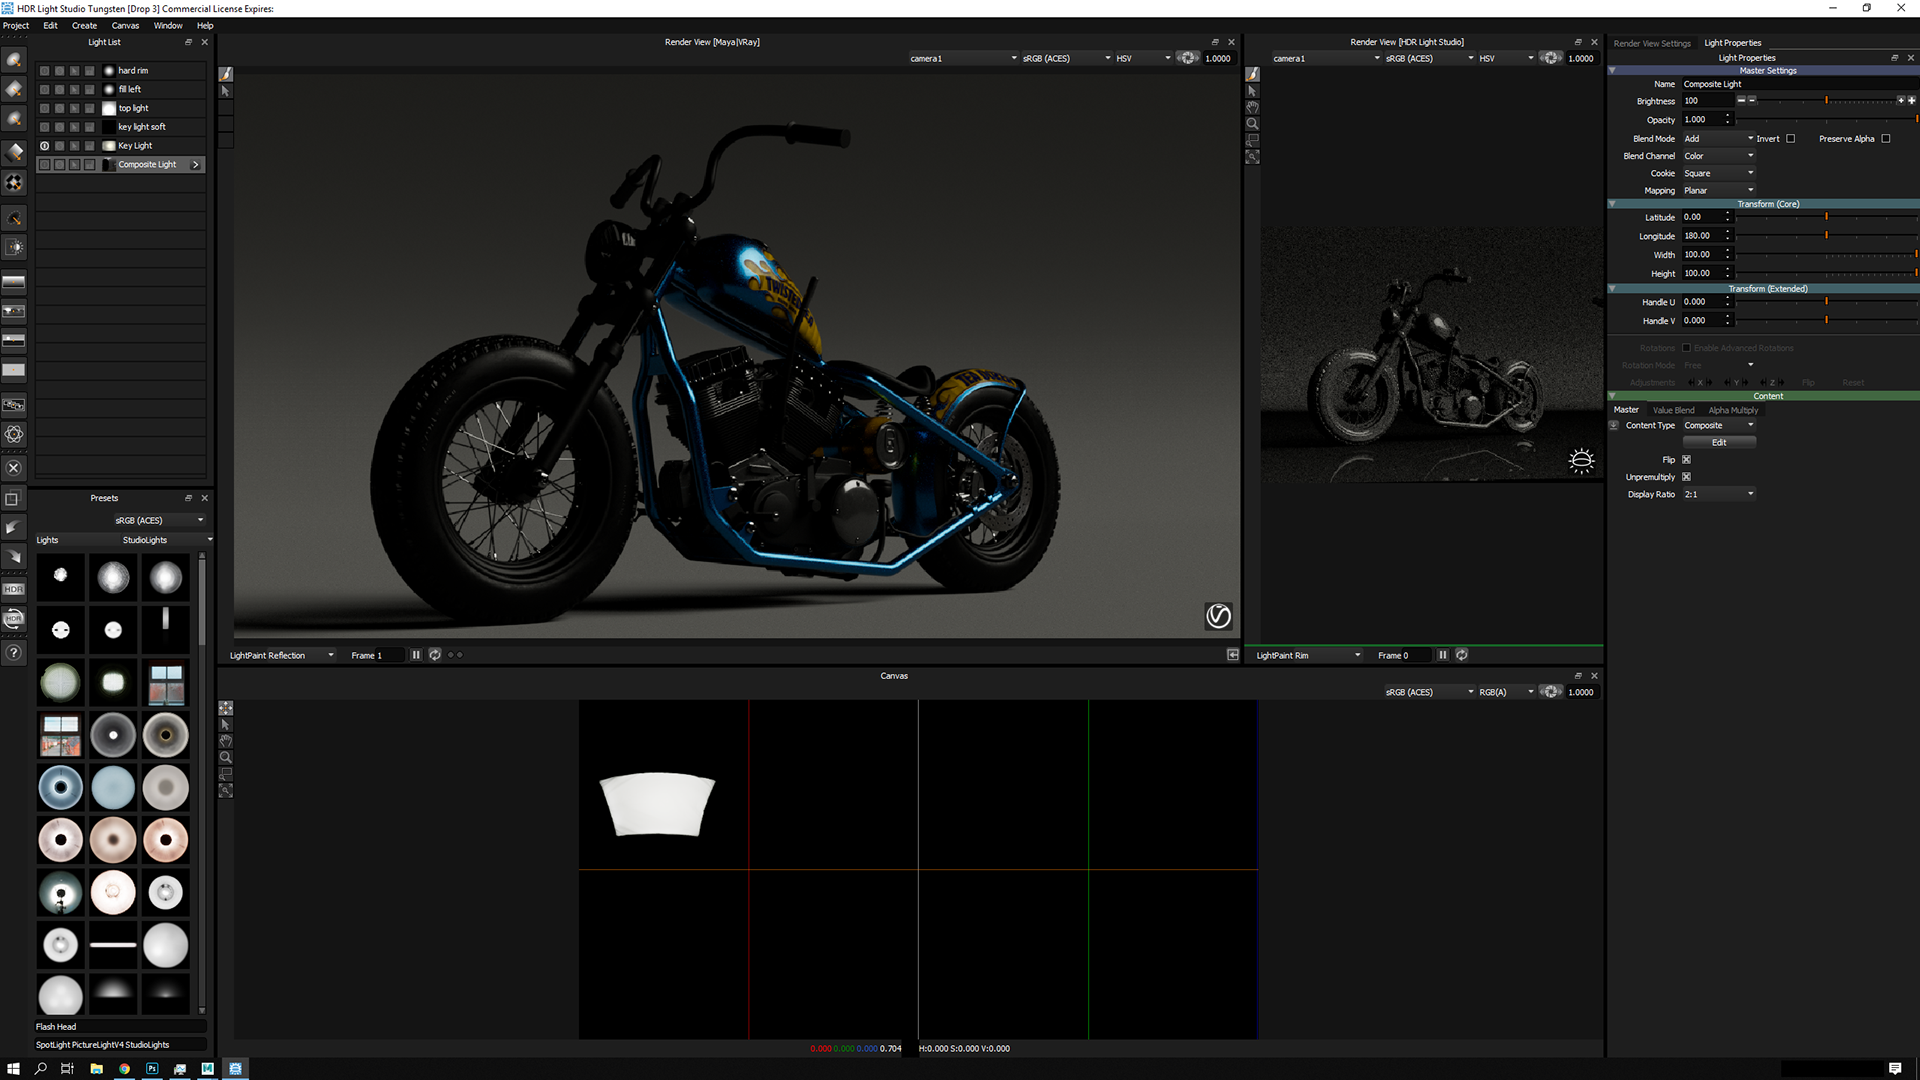
Here the Key light is placed. When placing the key light it is better to isolate it by turning everything else off. The job of the key light here was to define the forms clearly. The highlights on the round shapes of the frame, tank, fender and tires all help to communicate their shape.
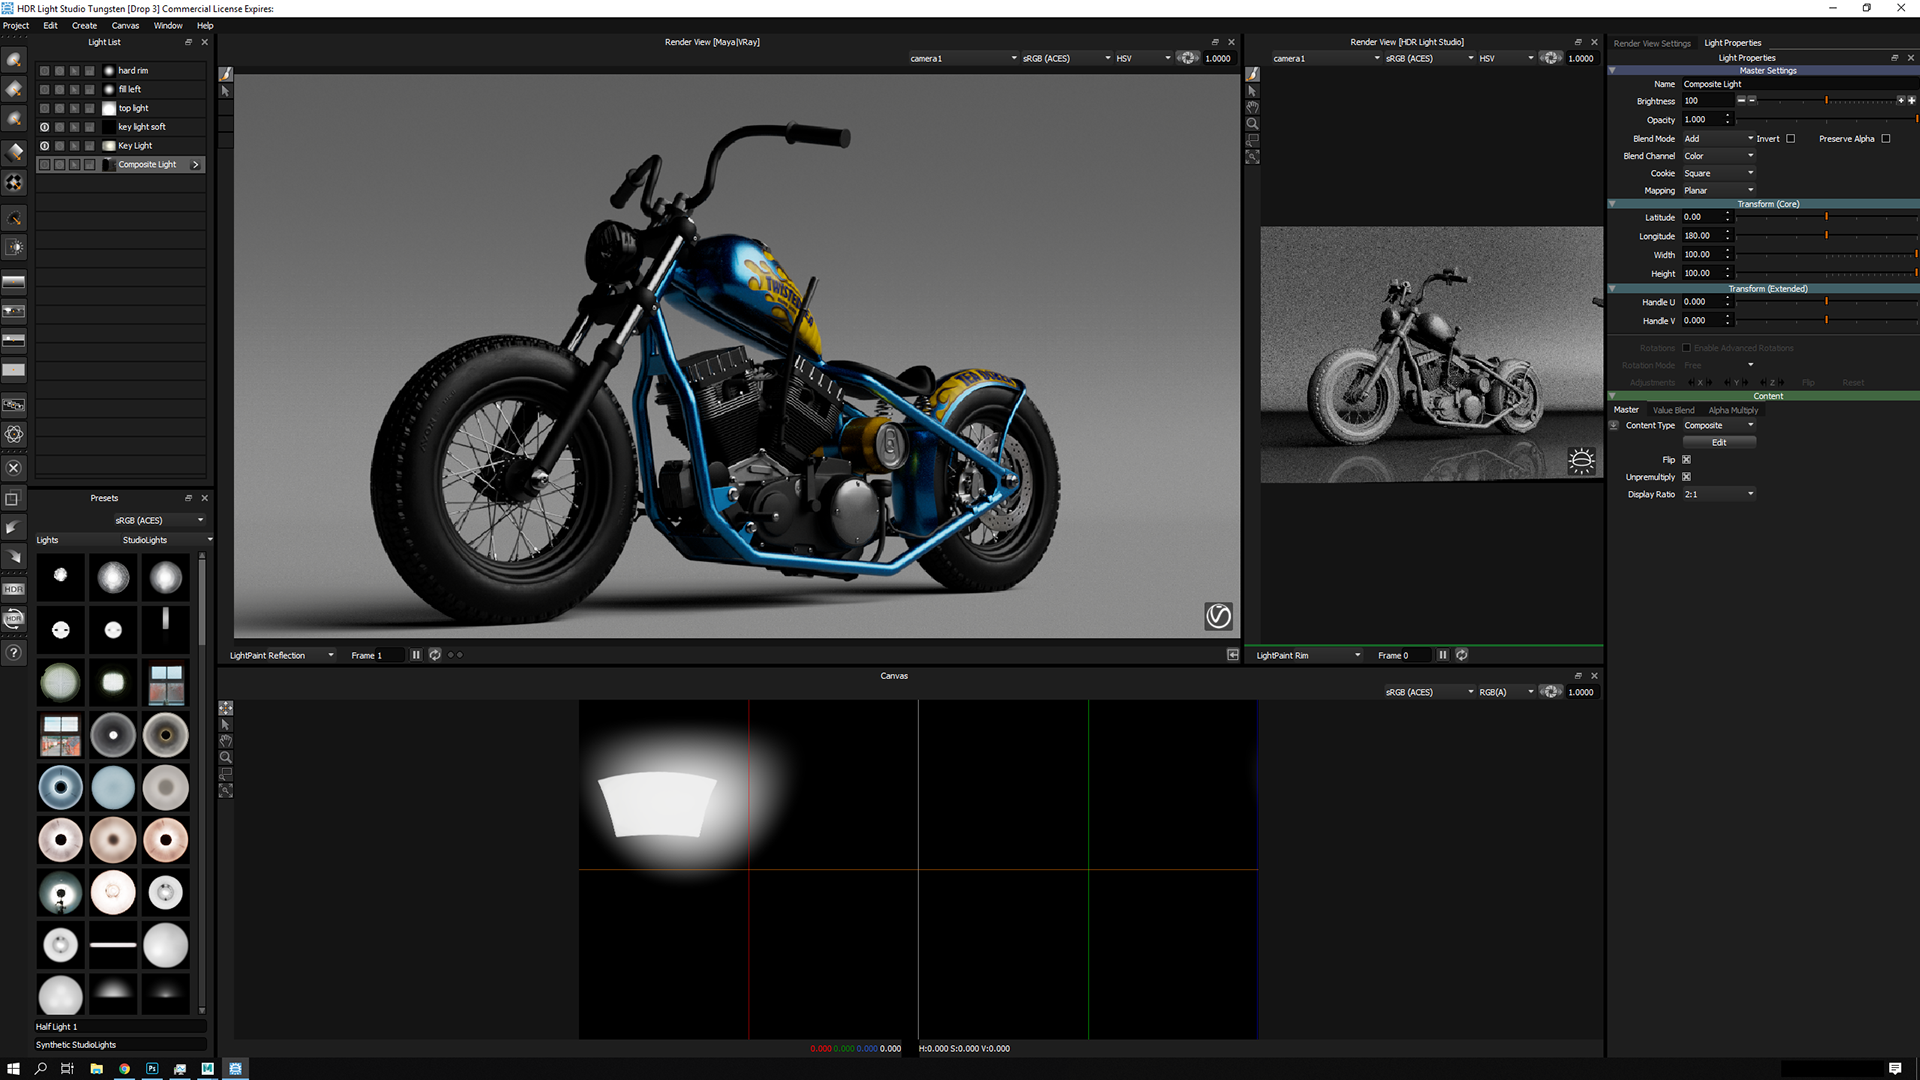
A second, softer light is placed over the key light to smoothly extend the highlight and boost the intensity of the light. It's offset slightly to help bring more definitive highlight onto the fork.

Fill lighting was then added to get a better read on surfaces not directly lit by the key light. Again it's useful to isolate each light as well as seeing it in context with the overall lighting design. Two fills were added here, a large softbox with defined edge for the metal parts positioned above the bike and a soft point source to the left to bring detail to the tire and more matt parts.
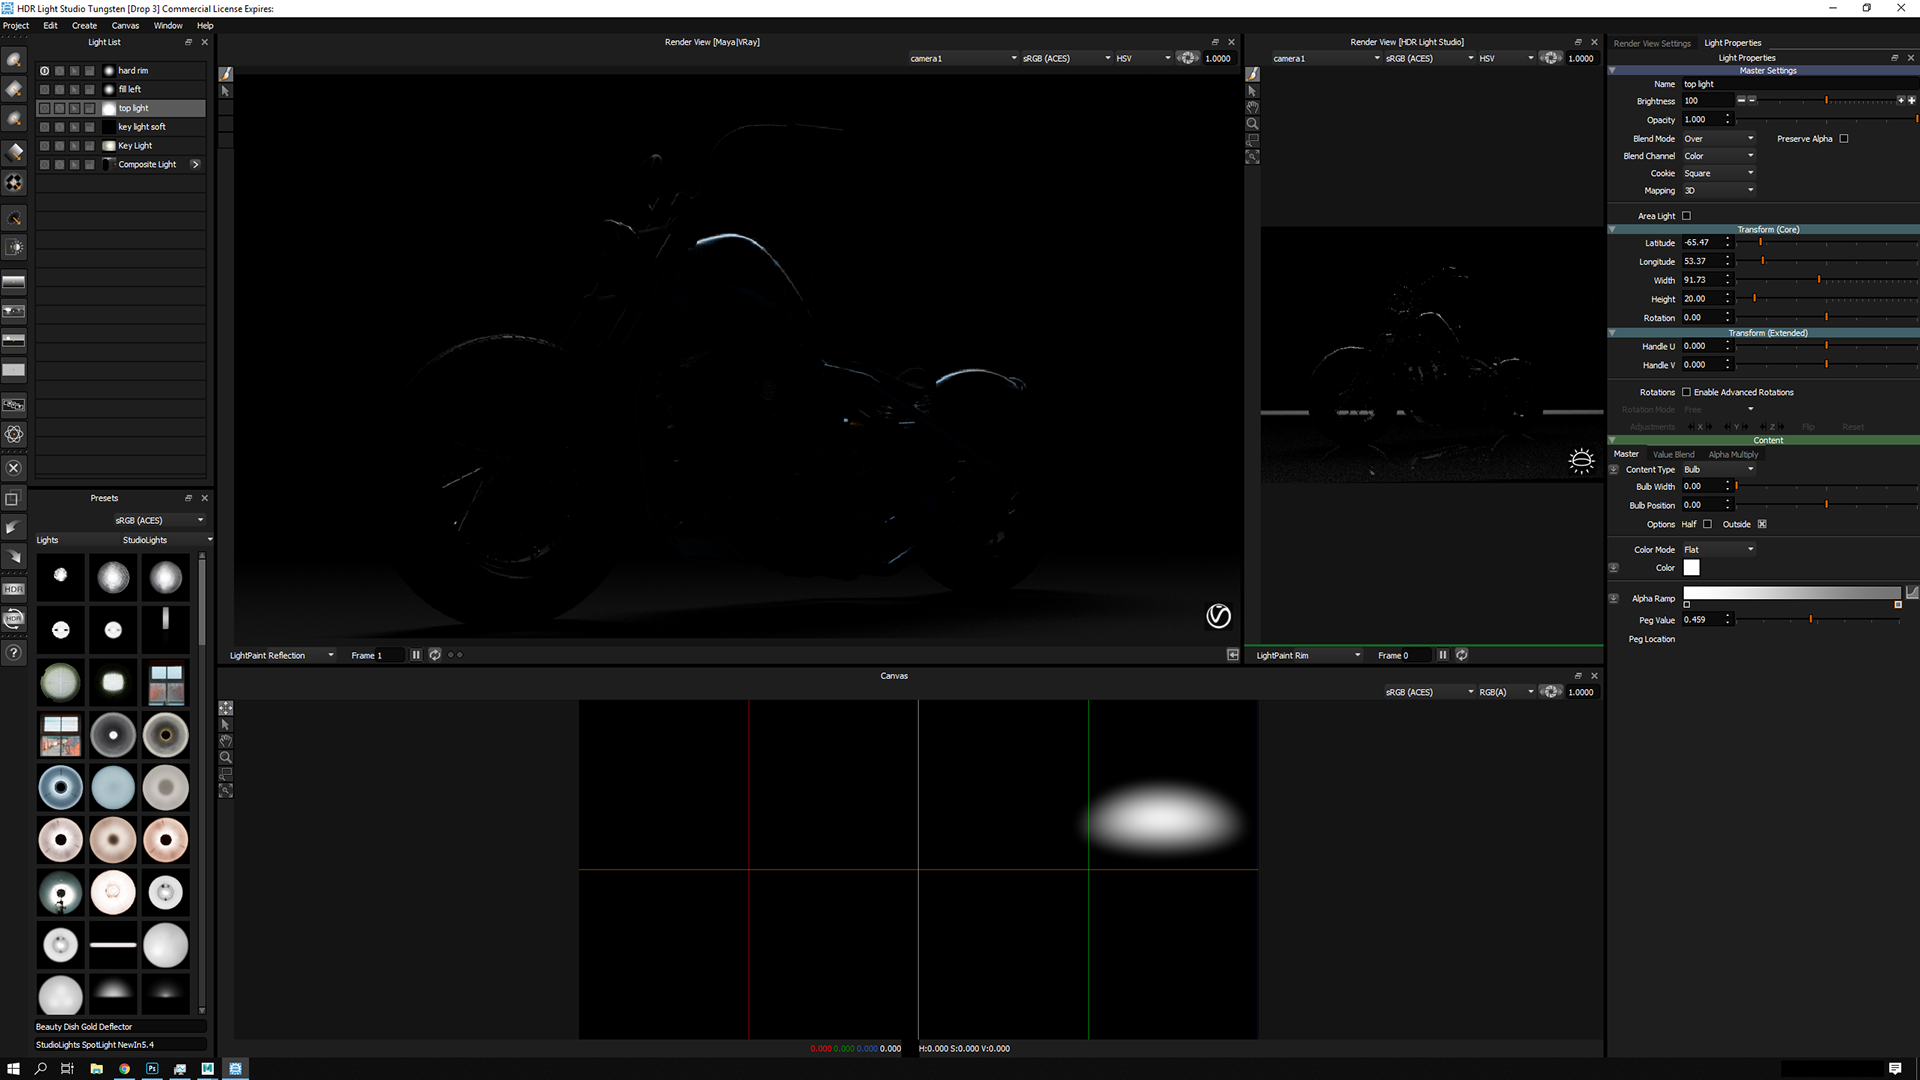
Lastly a rim light was added to help integrate the subject into the image. Overall this is a very classis 3 point lighting approach. Some minor color adjustment was done post rendering but the final result was 99% there in the render. In the Vray FrameBuffer OCIO ACES CG workflow was used. Image was exported as an EXR and View Transforms were applied in Photoshop to match the framebuffer preview.
Thanks for making to the end if you have any questions just hit me up in the comments.